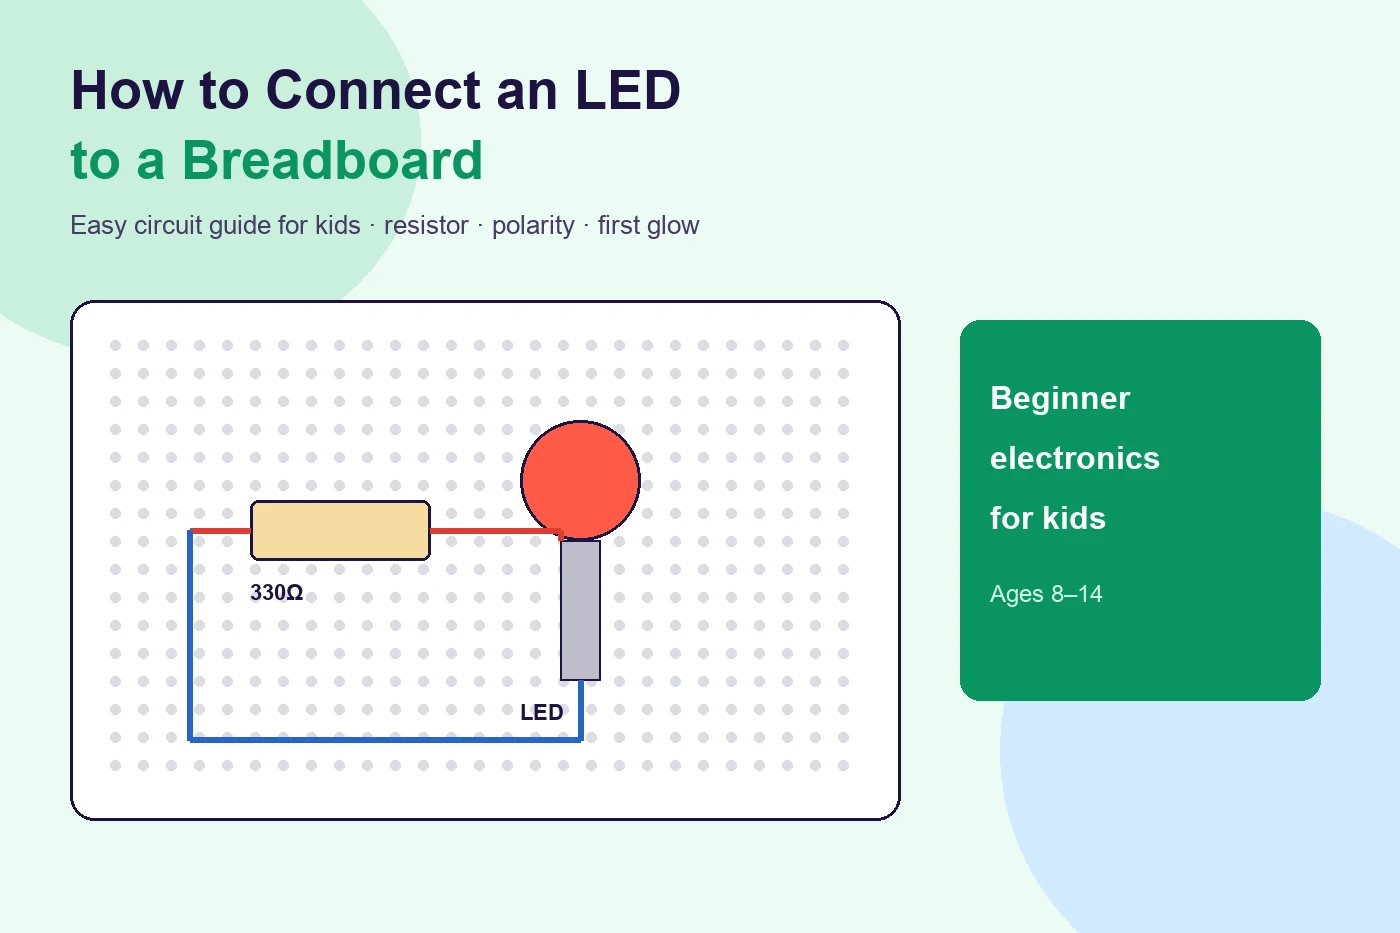
Have you ever wondered how a tiny LED light turns on when you connect a few wires and a battery? You can build this simple electronic circuit yourself!
Connecting an LED to a breadboard is one of the easiest and most exciting ways to start beginner electronics for kids. With just an LED, a resistor, a breadboard, and a battery pack, you can create your first working circuit without soldering.
In this beginner-friendly guide, we will learn how to identify the positive and negative legs of an LED, understand how a breadboard works, connect a resistor correctly, and light up an LED step by step.
Let’s become little electronics engineers!
What You Will Learn
By the end of this tutorial, you will know:
- What an LED is and how it works
- How to identify the positive and negative legs of an LED
- What a breadboard is and how its connections work
- Why a resistor is important in an LED circuit
- How to connect an LED to a breadboard step by step
- How to troubleshoot your LED circuit if it doesn’t glow
1. What Is an LED?
LED stands for Light Emitting Diode. It is a small electronic component that produces light when electric current flows through it in the correct direction.
You can find LEDs in:
- Traffic lights
- Television indicators
- Flashlights
- Toys
- Computer keyboards
- Decorative lights
Unlike a regular bulb, an LED has two terminals called legs. That means it must be connected in the correct direction to work. An LED is a great component for your first electronics project because you can immediately see what happens when electricity flows through a circuit.
2. What Materials Do You Need?
Before building your LED circuit for beginners, collect these simple components.
| Component | Purpose |
|---|---|
| Breadboard | Connects electronic components without soldering |
| Red LED | Produces light |
| 330-ohm resistor | Limits current to protect the LED |
| 3 × AA battery holder (4.5V) | Provides electrical power |
| Jumper wires | Connect different points of the circuit |
Beginner tip: A red LED, a 330-ohm resistor, and a 4.5V battery pack make a useful starting combination for this experiment.
Never connect an LED directly across a battery without an appropriate current-limiting resistor.
3. How Do You Connect an LED to a Breadboard?
Connecting an LED to a breadboard involves placing the LED’s positive and negative legs in separate connected rows and using a resistor in series to control the current.
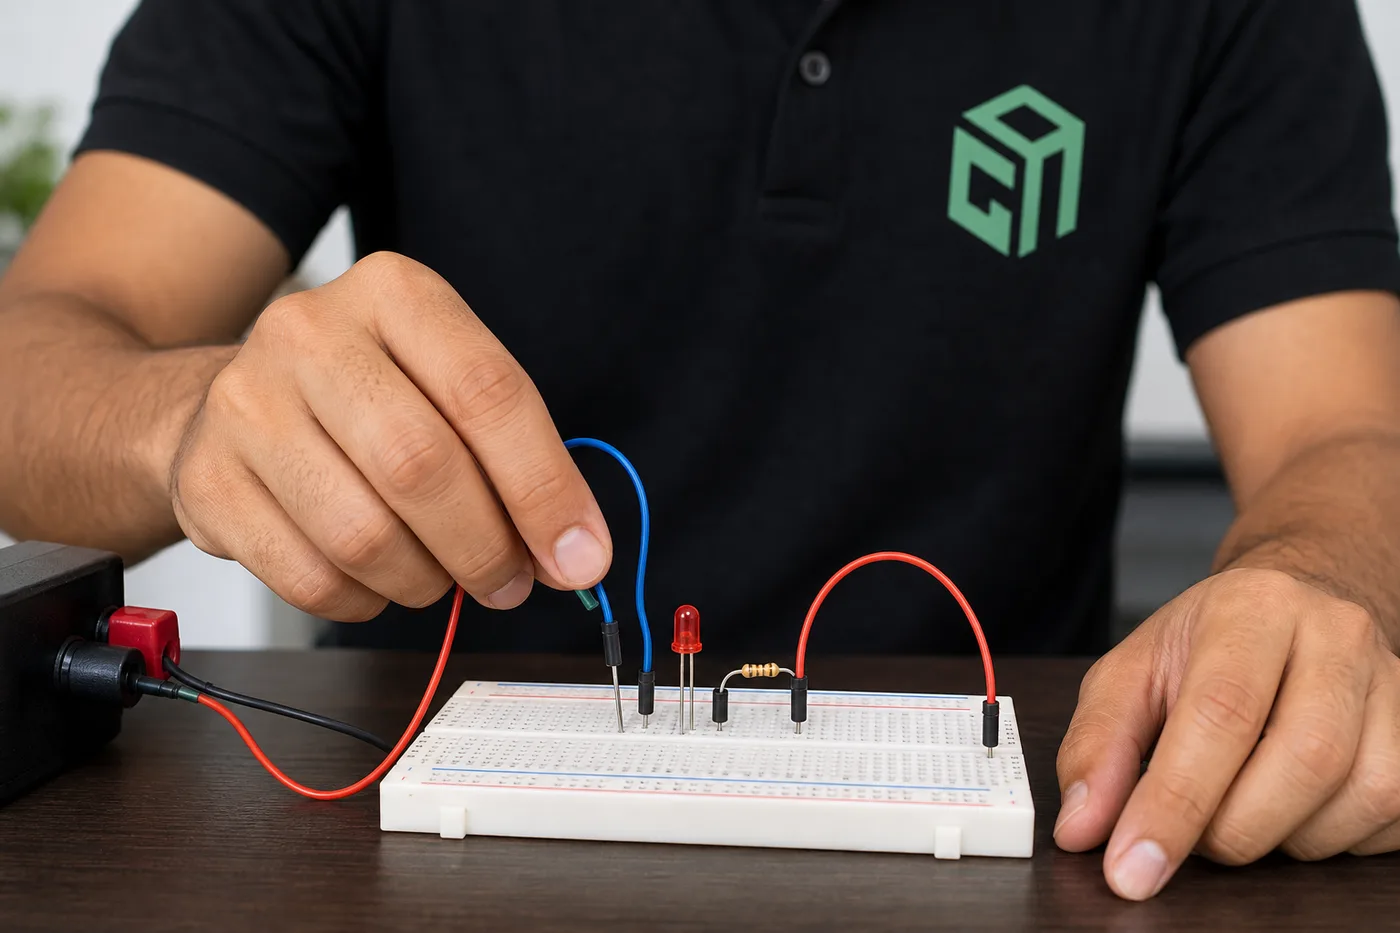
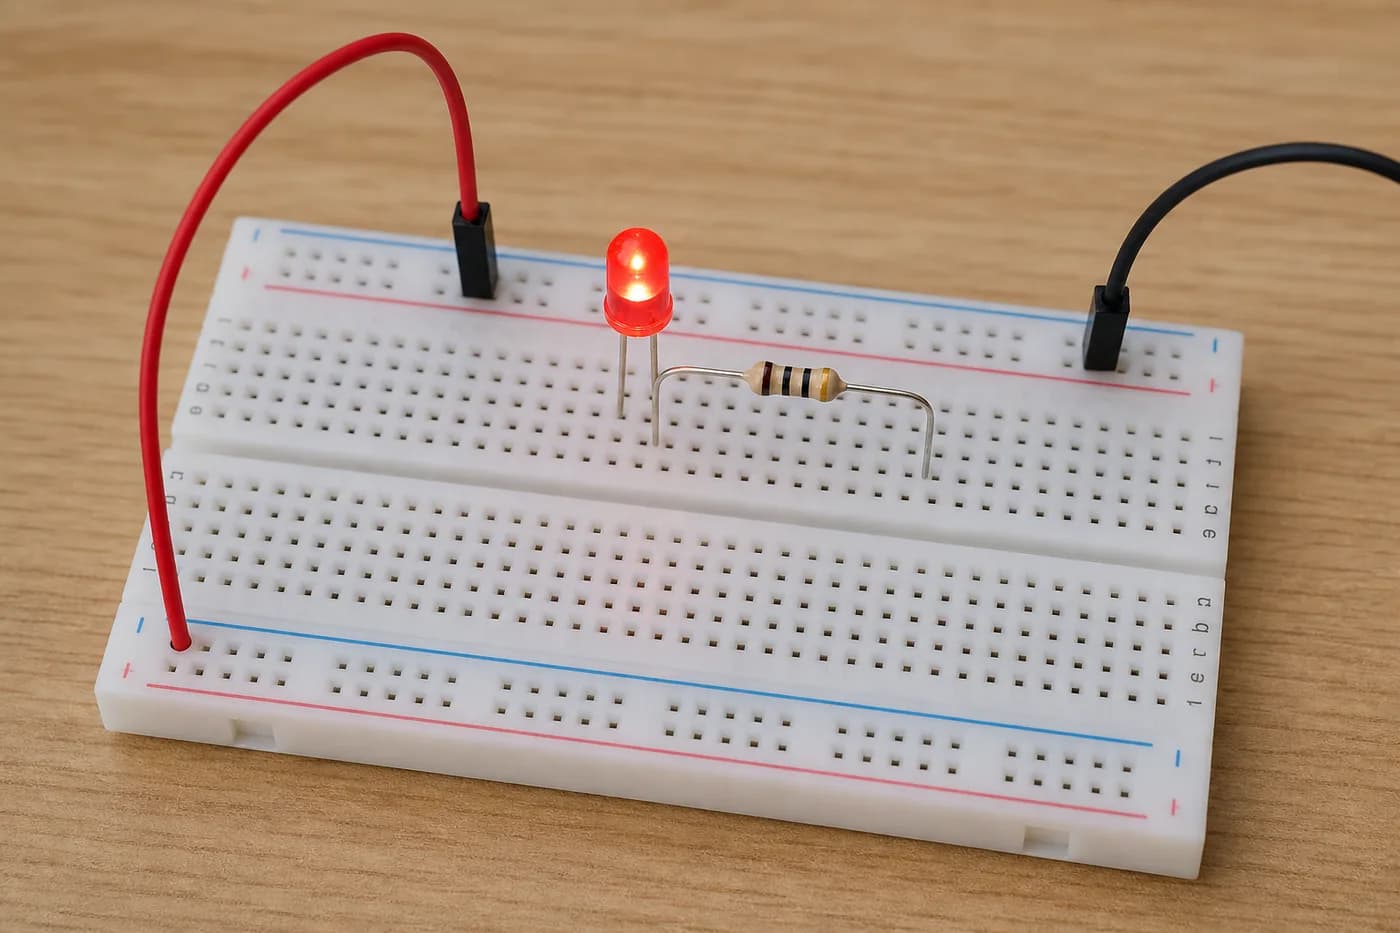
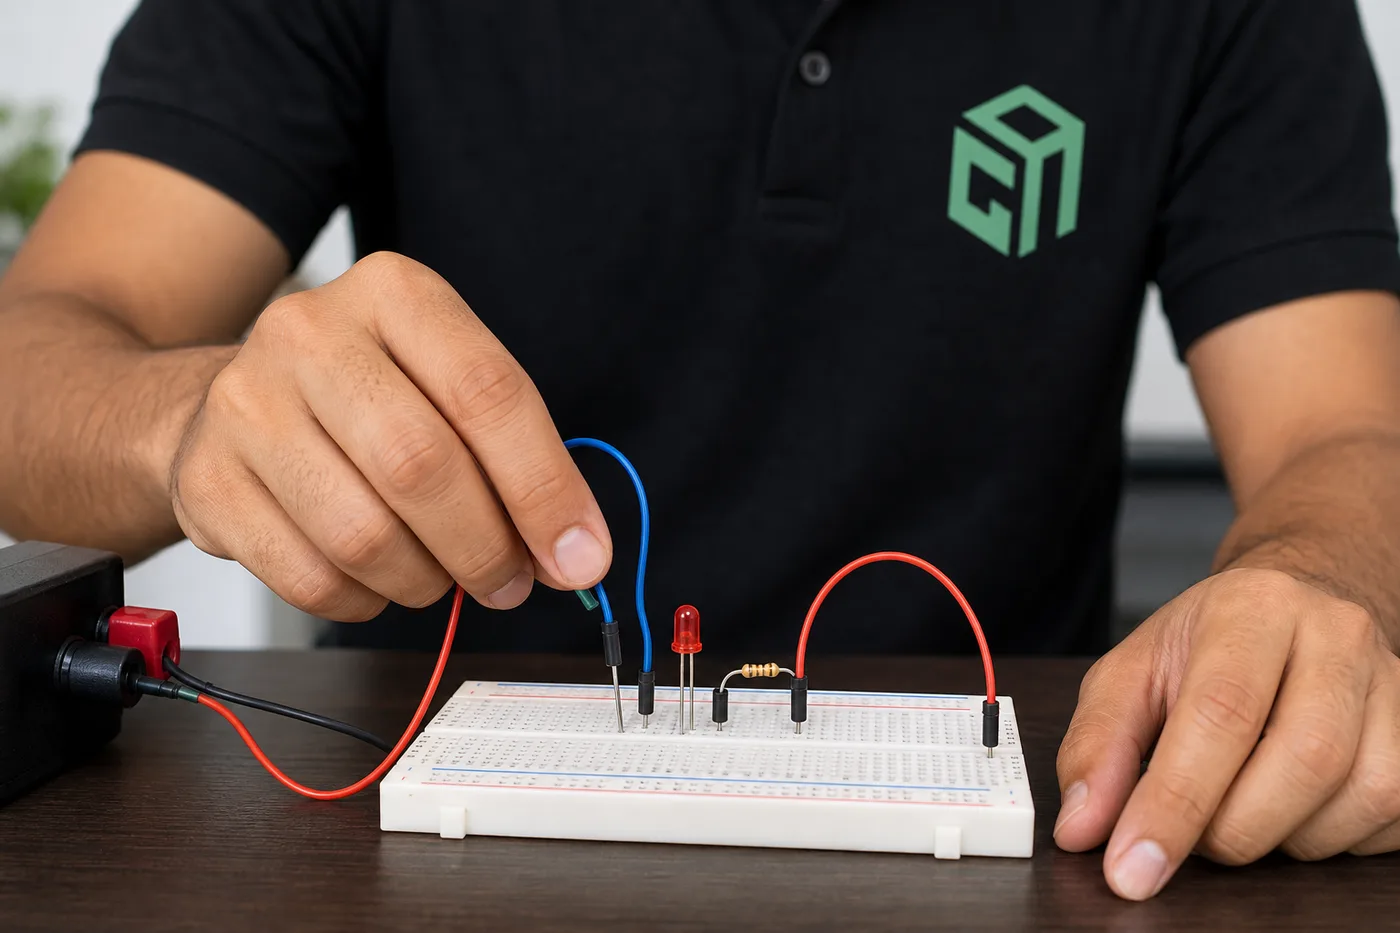
Connect the battery’s positive terminal to the resistor, connect the resistor to the LED’s positive leg, and connect the LED’s negative leg to the battery’s negative terminal. Once the circuit is complete, the LED should glow.
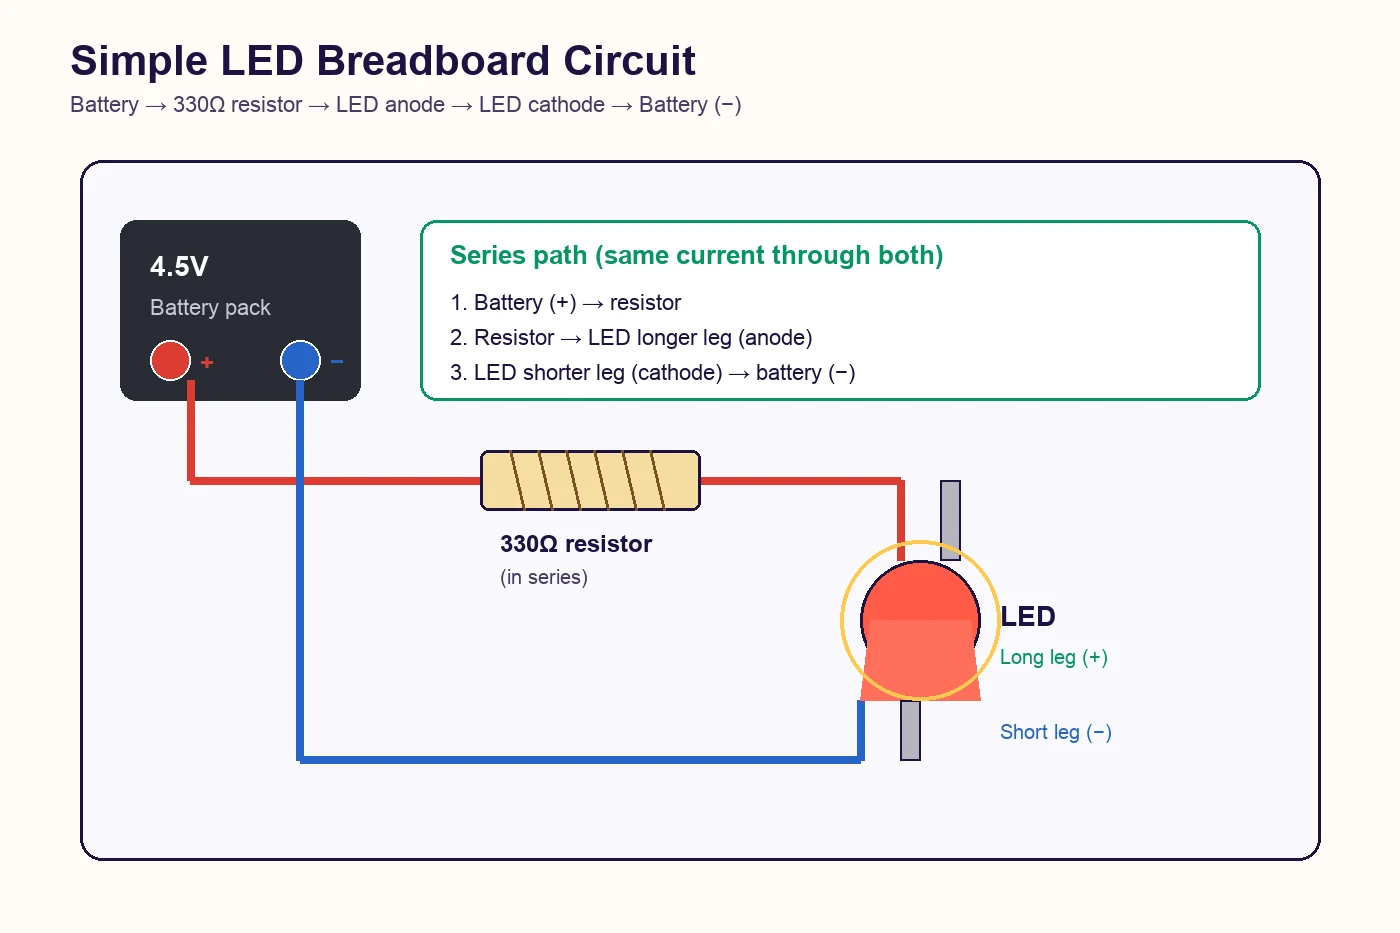
Step-by-step instructions
Step 1: Understand your breadboard. A breadboard is a rectangular board containing many small holes where you can insert electronic components. You don’t need to solder anything!
Step 2: Identify the LED legs. Look carefully at your LED. The longer leg is positive (anode). The shorter leg is negative (cathode).
Step 3: Place the LED. Insert the LED into the breadboard so that its two legs are connected to separate rows. Do not put both legs into the same electrically connected five-hole group.
Step 4: Connect the resistor. Insert a 330-ohm resistor between the positive power connection and the LED’s longer leg. The resistor limits the current flowing through the LED and helps prevent damage.
Step 5: Connect the battery. Connect the battery holder’s positive terminal to the resistor path and its negative terminal to the LED’s shorter leg.
Step 6: Complete the circuit. Double-check all connections. If everything is connected correctly, turn on the battery connection. Congratulations! Your LED should glow.
Safety note: Ask an adult to help with the battery connections. Use a low-voltage battery pack, check the polarity before powering the circuit, and never short-circuit the battery.
4. Which LED Leg Is Positive?
The longer leg of a standard new, untrimmed LED is usually its positive leg, called the anode. The shorter leg is the negative leg, called the cathode. You can also identify the cathode by looking for the flat edge on the LED’s plastic body. Always check the component markings if the legs have been trimmed.
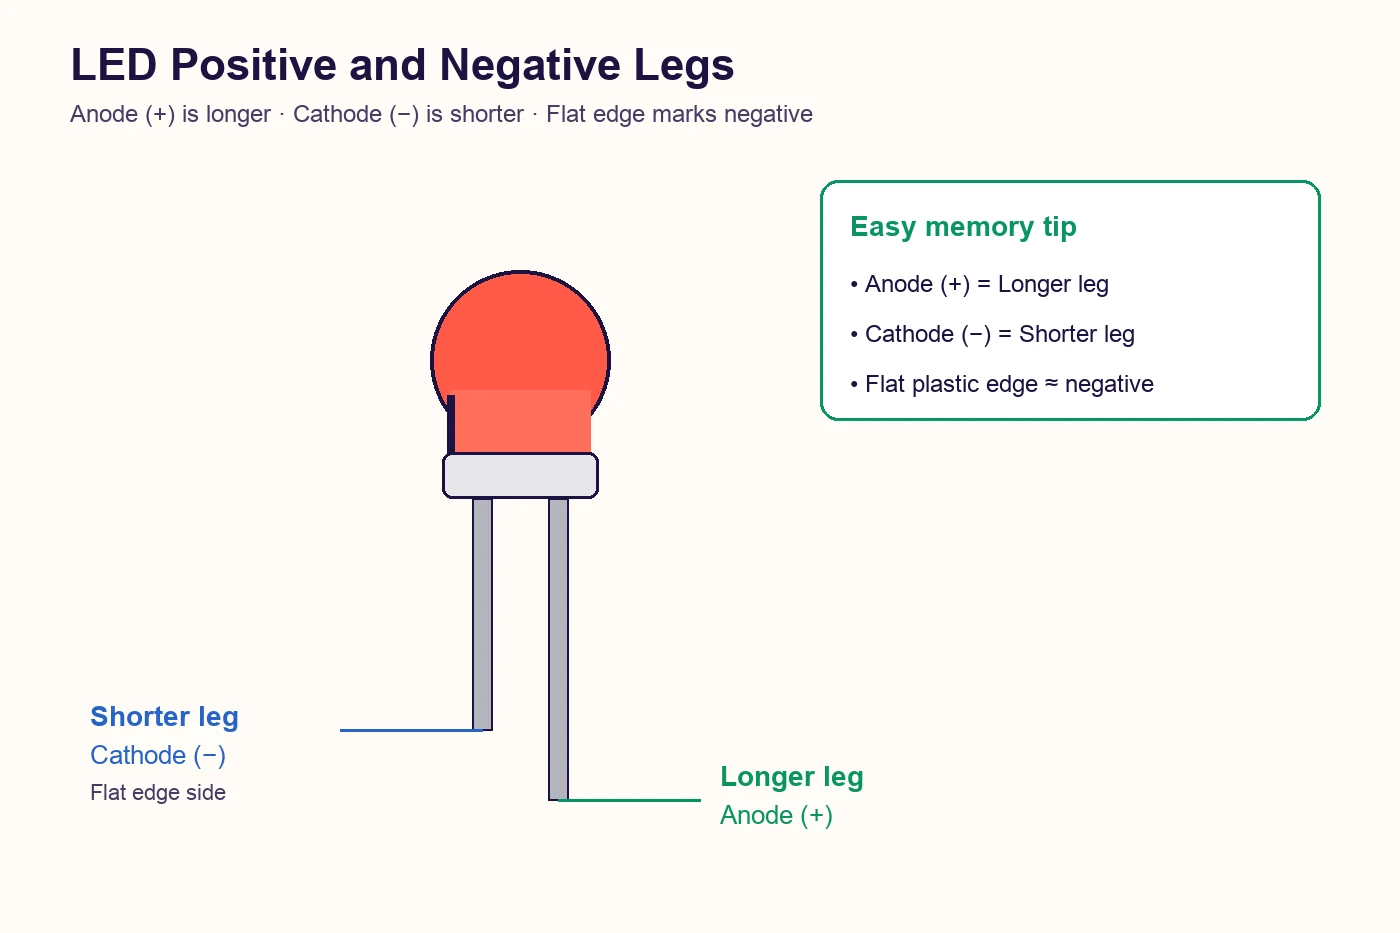
Easy way to remember LED polarity:
- Anode (+): Longer leg
- Cathode (−): Shorter leg
- Flat side: Usually indicates the negative side
Remember: An LED is a polarized component, which means its direction matters. If you connect it backwards, it generally won’t light up in a normal low-voltage circuit.
5. Does the Resistor Go Before or After the LED?
A resistor can go either before or after an LED in a simple series circuit because the same current flows through both components. What matters is that the resistor is connected in series with the LED, not in a separate parallel path. Its purpose is to limit current and protect the LED from excessive current.
Why is a resistor important? Imagine water flowing through a pipe. If too much water flows through a small pipe, it can cause problems. A resistor works a little like a flow controller for electric current. It helps keep the current within a safe range for the LED.
For example, in our breadboard LED circuit with resistor, a 330-ohm resistor is used with a 4.5V battery supply and a typical red LED. You can use this formula to calculate the required resistor:
Resistance = (Supply Voltage − LED Forward Voltage) ÷ Desired Current
For our beginner project, the 330-ohm resistor is a practical current-limiting choice.
6. How Does a Breadboard Work?
A breadboard is a reusable electronic prototyping board that allows you to connect components using internal metal strips underneath its holes. In a typical solderless breadboard, groups of five holes on either side of the central gap are electrically connected. The long side rails are commonly used for positive and negative power connections.
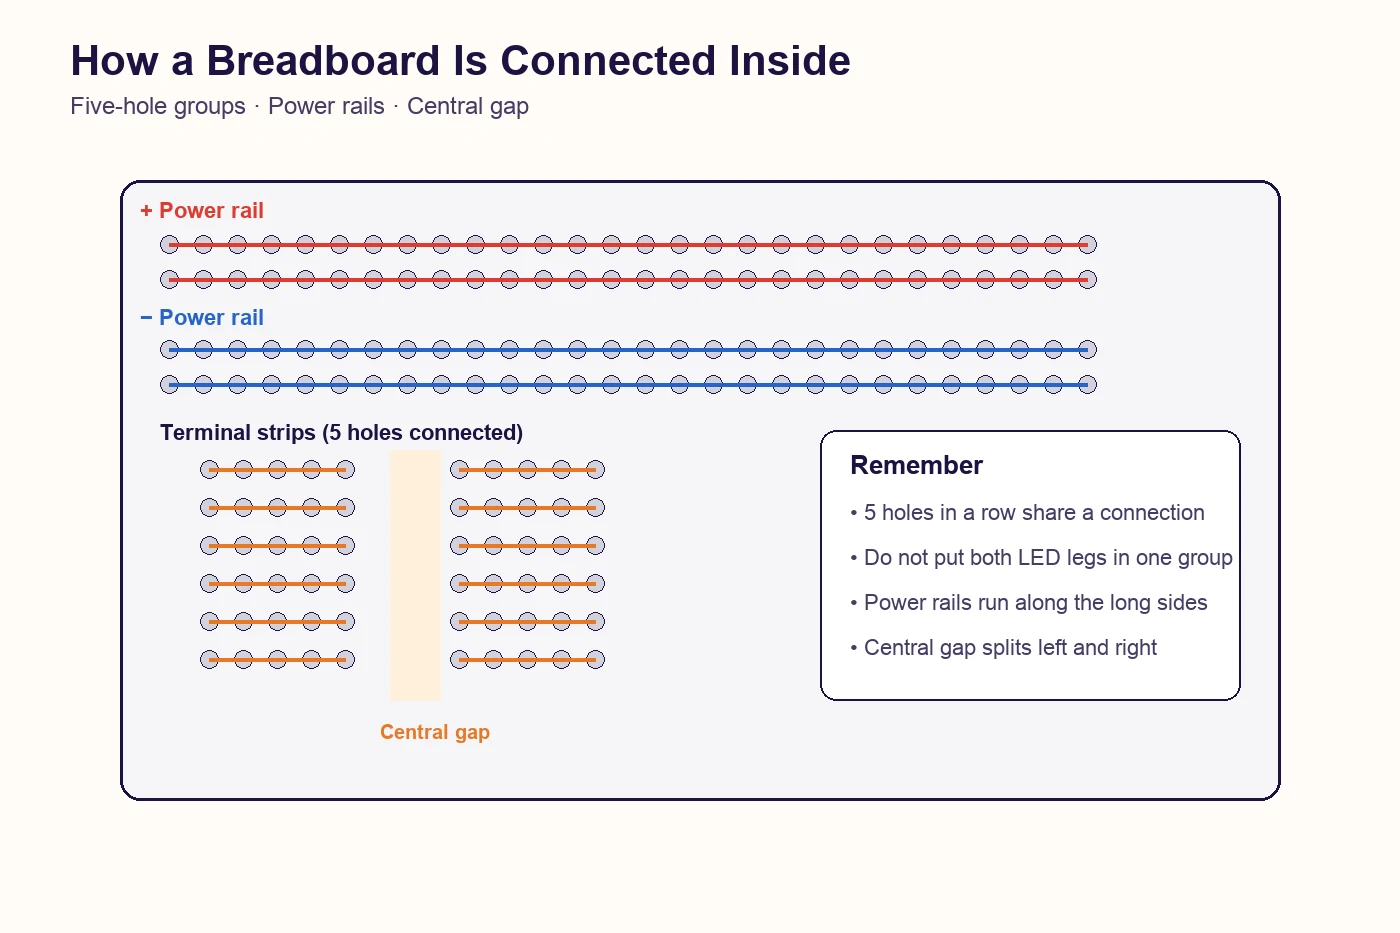
A standard breadboard has three important areas:
- Terminal strips: groups of holes in the middle of the board. Typically, five holes in each horizontal group are connected internally.
- Power rails: long strips along the sides, commonly used to distribute positive and negative power.
- Central gap: the gap in the middle that separates the two sides of the breadboard. It is useful when placing integrated circuits and other components.
Understanding these connections will help you build more advanced projects later. For a deeper walkthrough of rails and jumpers, read our breadboard for kids guide.
7. Why Is My LED Not Glowing?
Sometimes your first circuit may not work immediately. Don’t worry! Troubleshooting is an important part of becoming an electronics engineer.
| Problem | Possible solution |
|---|---|
| LED is not glowing | Check battery connections |
| LED is connected backwards | Reverse the LED orientation |
| LED legs are in the same connected row | Move one leg to a separate row |
| Resistor is not connected properly | Check the series connection |
| Battery is discharged | Try a fresh battery pack |
| Jumper wire is loose | Reconnect the wire securely |
Remember: Experimenting, identifying mistakes, and fixing them are all part of learning electronics.
8. Try These Fun LED Experiments!
Once your first LED circuit works, you can try some interesting simple electronics projects for kids.
Experiment 1: Change the LED colour. Replace the red LED with a green, yellow, or blue LED. Notice how different LEDs may need different operating voltages.
Experiment 2: Build a two-LED circuit. Try connecting two LEDs in series with an appropriately calculated resistor. Observe how the circuit behaves.
Experiment 3: Make an LED switch. Add a suitable switch to your circuit. Now you can turn the LED on and off without disconnecting the battery.
Experiment 4: Build a mini traffic light. Use red, yellow, and green LEDs to create a simple traffic light model. You can later use a microcontroller to control the lights automatically.
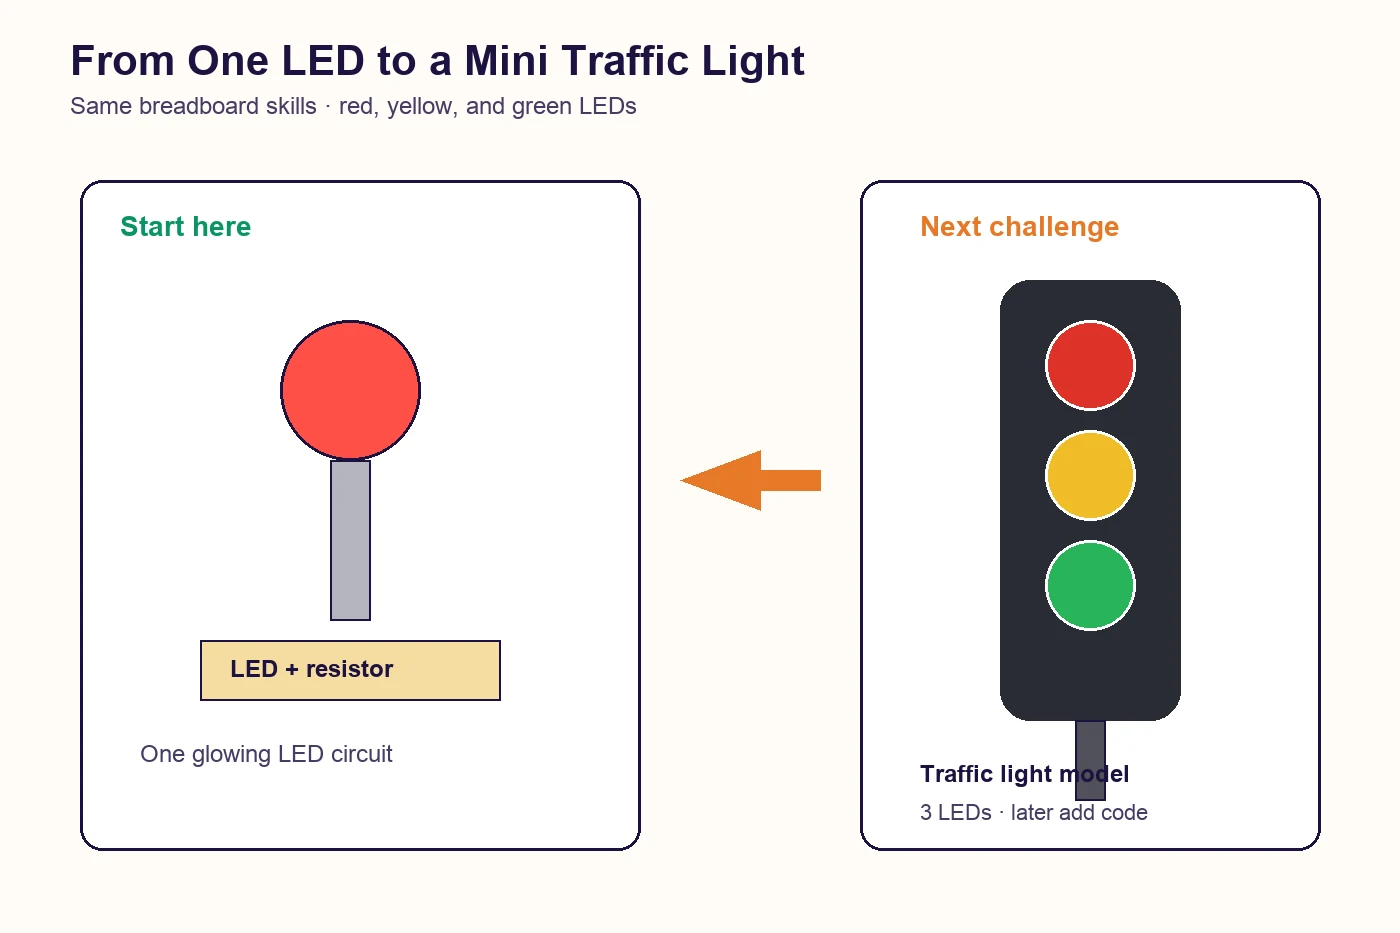
These small STEM projects for children help you understand the basics of electronics, circuits, and robotics. When you are ready for motors and sensors, continue with online robotics classes for kids.
9. What Should You Learn Next?
Congratulations! You have completed your first LED breadboard circuit.
You now understand:
- How an LED works
- How to identify its positive and negative legs
- How a breadboard connects components
- Why resistors are important
- How to build and troubleshoot a simple circuit
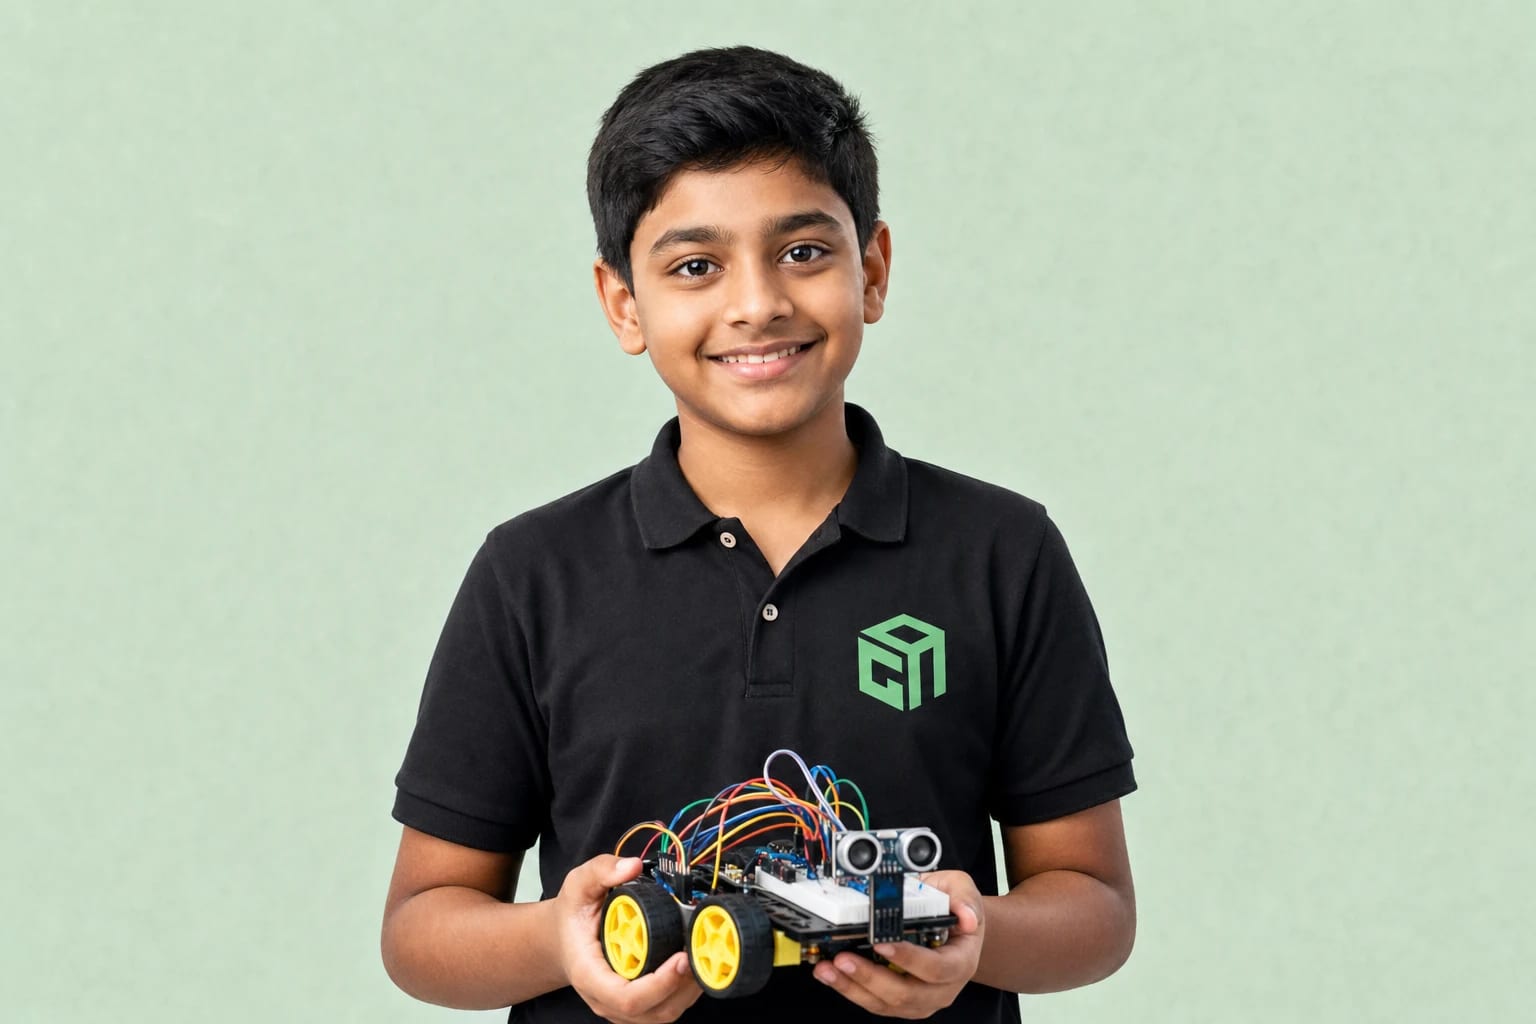
But this is just the beginning! After an LED circuit, the natural next step is robotics — sensors, motors, and coded builds that move and react.
Imagine building a line-follower robot, an obstacle-avoiding bot, a smart night lamp with a light sensor, or a mini traffic light controlled by code. Those projects all start with the same breadboard skills you just practised.
At GeekashramJr, we believe children learn best when they explore, experiment, and build real-world projects. After breadboard basics, students continue into live online robotics classes for kids — wiring circuits, reading sensors, driving motors, and finishing robot demos with mentor support.
Ready for the next step? Explore GeekashramJr’s robotics course for kids, review our breadboard for kids guide, then book a paid local-currency 60-minute demo (adjusted on enrolment) to see a live mentor robotics demo.
Start building. Keep experimenting. Become a young innovator!