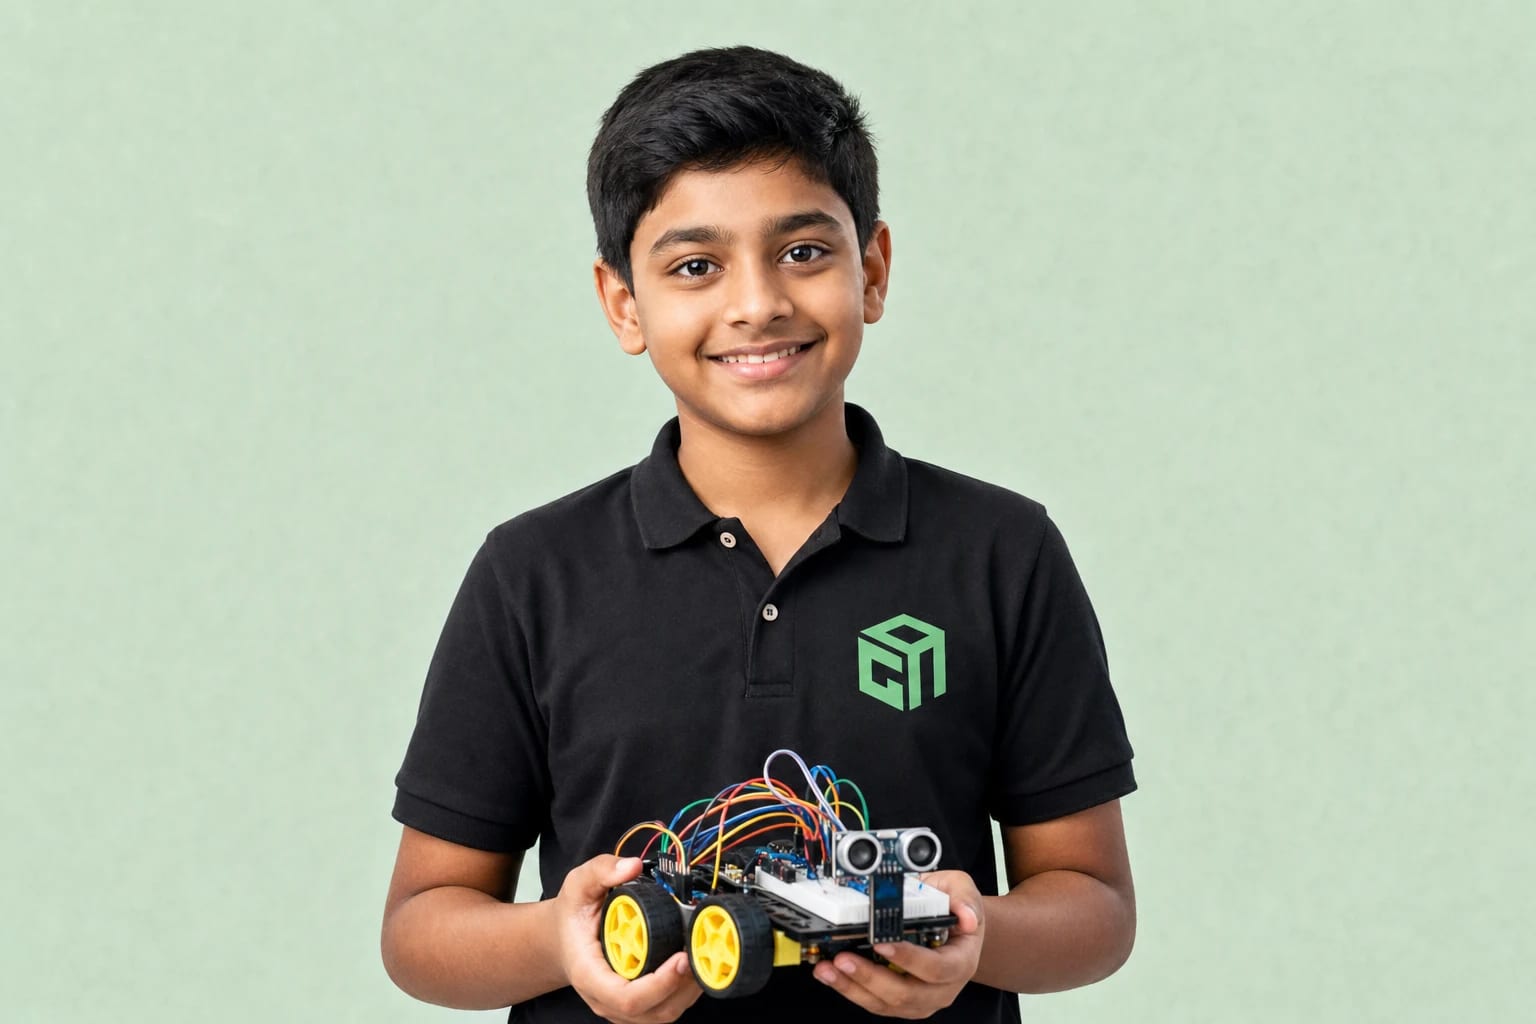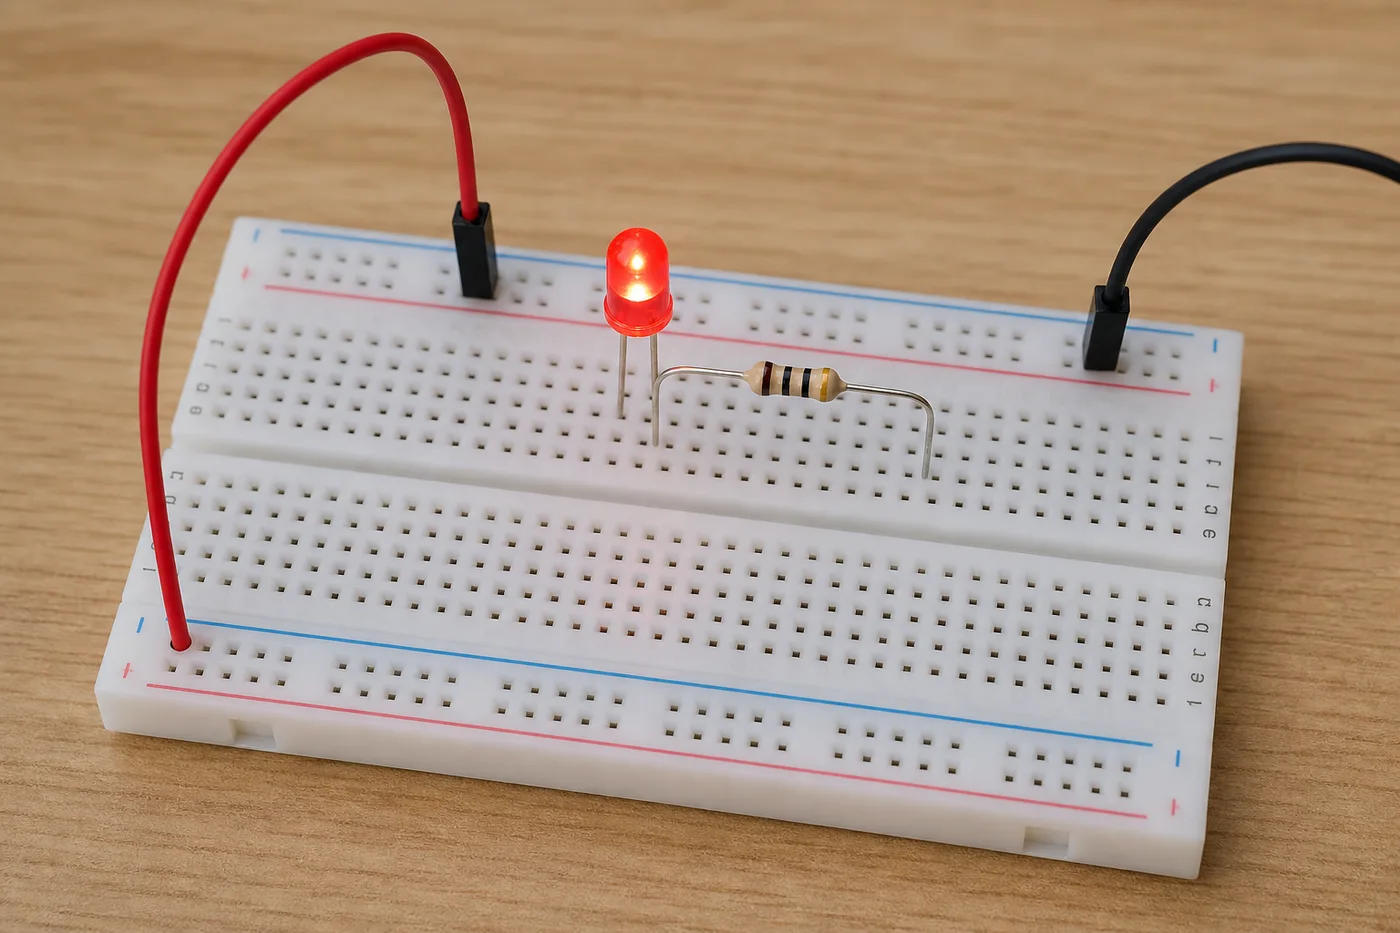
Testing a DC motor is how robot wheels come alive. Kids should learn motor polarity, safe power, and why motors often need a driver circuit — not a direct connection to delicate microcontroller pins.
What You Need
- Small DC motor suitable for beginner kits
- Correct low-voltage supply as specified by the kit
- Breadboard, jumpers, and a switch (as guided)
- Motor driver / transistor path when using Arduino (mentor-guided)
Safe Beginner Test Flow
- Confirm kit voltage before connecting anything
- Wire power and ground carefully with mentor instructions
- Use a switch to start/stop for first tests
- Swap polarity only when powered off to reverse direction
- Move to Arduino control after the motor spins reliably
What Kids Learn
- Current and voltage matter for moving parts
- Motors need more care than LEDs
- Direction depends on polarity
- Robot movement is just controlled motors + sensors
This post continues GeekashramJr’s electronics series after breadboard LED and buzzer projects. Book a local-currency 60-minute session (adjusted on enrolment) for live motor labs.