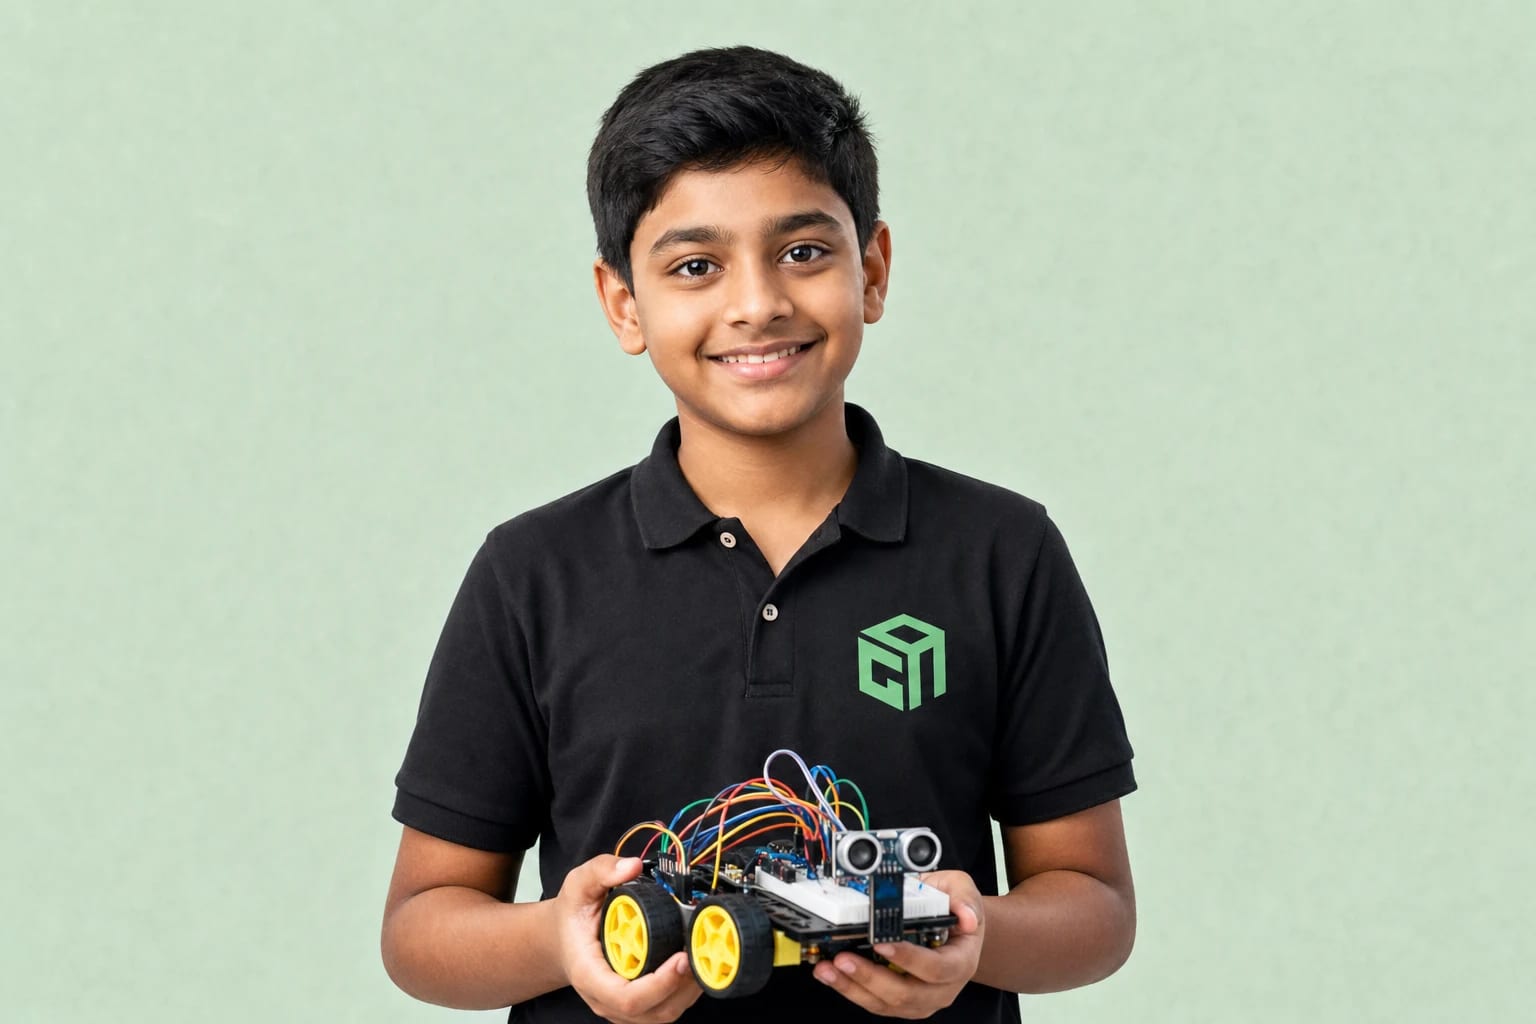
An obstacle-avoiding robot measures distance ahead and changes behaviour before a crash. If the path is clear, it drives forward. If something is close, it stops and turns. That single idea teaches sensors, decisions, and motor control together.
Core Logic
- Read distance from ultrasonic/IR sensor
- If distance is safe → move forward
- If distance is too small → stop
- Turn left or right, then check again
Skills Kids Practice
- Threshold thinking (what counts as “too close”?)
- Debugging false triggers and noisy readings
- Coordinating two motors for turns
- Explaining robot behaviour to parents and mentors
Build Order We Recommend
Breadboard LED → buzzer → sensors 101 → motor test → line-follower → obstacle avoider. Skipping basics makes robot day frustrating.
Ready for the 50-session live robotics course? Book a local-currency 60-minute session (adjusted on enrolment) and get a kit + project plan for your child’s class.